
Contains affiliate links. All opinions are honest, as always.

Do you like a good before and after? Me too! They are SO satisfying. And when you’re renovating a house, they’re the perfect way to remind yourself of how far you’ve come. We’ve been in our house 10 years this month, and it was a little dated, when we bought it, to be polite. We’d done a lot of cosmetic renovations to our previous house, which was a 90s spectacular. This house was more of a 70s/80s theme, and had been lived in by the same lady since it was built in the 70s. Her husband had been a keen, (but not altogether safe) DIYer. So we had a lot of work to do with this house renovation, to bring it up to date.
Why We Chose This House to Renovate
We were desperate for a house, as we had sold our old one, and the person we were buying from pulled out after about 5 months of messing us about. We didn’t want to do that to our buyers, and needed more space. So I looked at about 12 houses in one day, with a baby strapped to my chest. This house was way over budget and needed a complete renovation. But we could see the potential. It’s within walking distance of town and good schools, was the right size and backs on to a field.
When we got the keys, we thought we’d made a massive mistake. Read on to see why! I remember standing at the window looking out over the view at the back, thinking ‘at least we have this view!’. The work seemed overwhelming, and this house renovation seemed impossible.

At that time we had a 3 year old and a 1 year old, and the house wasn’t at all safe for toddlers. Thankfully, my parents live in the next village. So we all moved in there while we waiting for the house sale to go through. We stayed for months while we did the worst of the house renovation.
So let’s take a peek shall we? We’ve done everything on a budget, apart from the kitchen, which was more than we hoped to spend. And we reused and repurposed everything we could to keep the environmental impact as low as we could.
Our White to Pink Front Door Evolution
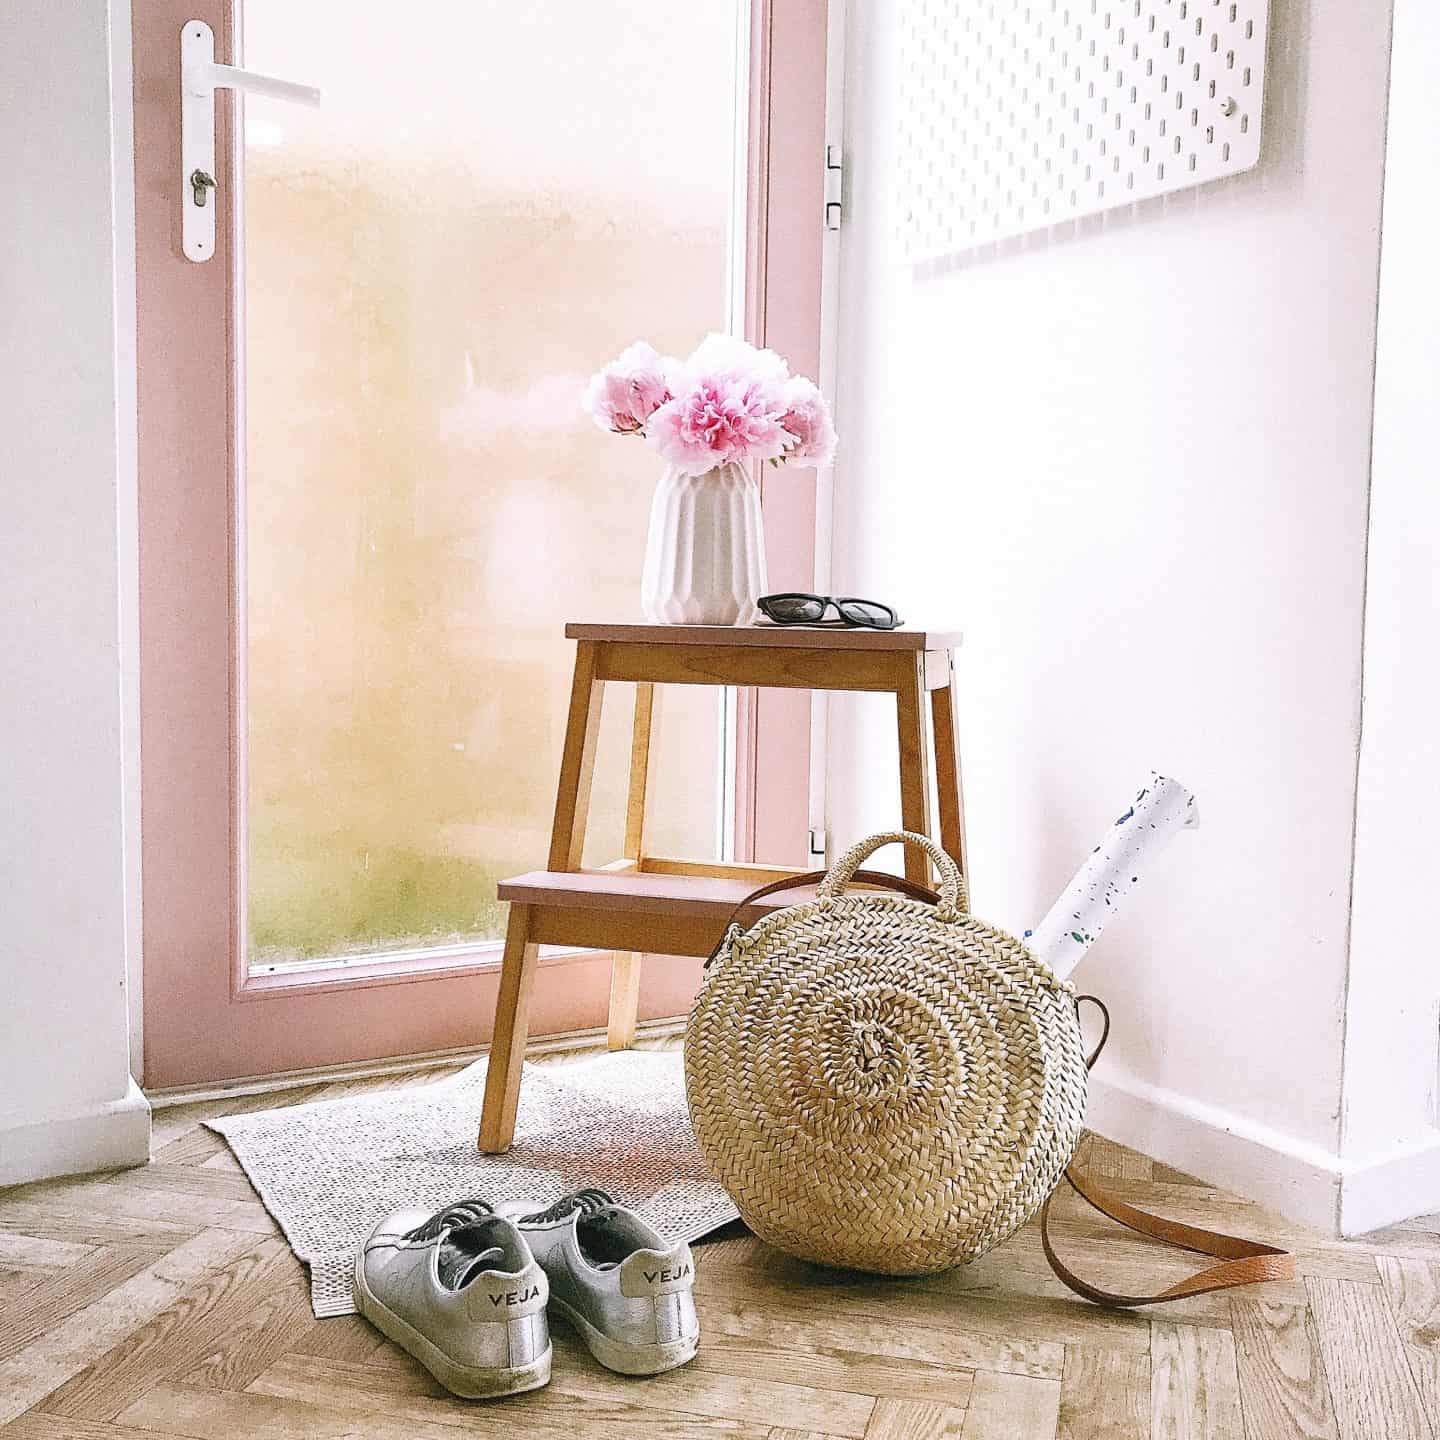
I’ll start with our front door as that’s the first thing you’ll see when you come to a house. When we moved in we had this rather uninspiring, ancient white(ish) uPVC door. I painted it pink (find out how I did it in this detailed DIY door painting blog post). More recently, the side window shattered. When we got quotes to replace it the people recommended getting a new door. The the old one wasn’t very secure and we already knew it was draughty. So we got a nice secure composite door, with a plain frosted glass side panel.


I took the bee door knocker off the old door before they took it away for recycling. And they put it on the new door. We did consider a more ‘sensible’ colour. But it makes me so happy coming home to a pink door, I’m really glad we didn’t!
Hallway Renovation

When we moved in, the hallway was covered in yellowing old wallpaper, a 90s orange border, a very dated wall light and worn out beige carpet. There was a strange little cupboard that was too smell to fit anything much in, and no side bannister.
As we had a baby and a toddler, getting a simple bannister added was one of the first things we did.
As well as painting the shiny orange wooden hand rail white, we had new wood-effect flooring put in, a striped stair carpet, and stripped and painted the walls. We also got a more contemporary light fitting and recessed spotlights.
We added shoe storage next to the stairs and to the right of the door.


Downstairs Toilet Makeover
We had the old greenish beige coloured toilet and sink replaced with a simple toilet with eco flush, and a wall-mounted white sink unit. The mirror with shelf is from Ikea and my husband added the Laura Ashley tiles in his first ever bit of tiling. I’ve added embroidery art work and pictures.


We now have a wooden shelf above the pipework next to the toilet. Because we buy Who Gives A Crap plastic-free toilet roll, we needed somewhere to store it! You can save £5 on your first delivery through this link with the code TP4EVA.
Utility Room Renovation
The previous owners had sectioned off the back of the garage for a utility room. I can’t tell you how excited I was to have a utility room. Even if it was freezing, cobwebby and (again) painted yellow. For a few years it was a dumping ground (on the left) while we renovated the rest of the house. Then we took everything out, painted it white, and reconfigured it, adding Ikea storage and flooring. It’s still freezing as it isn’t really insulated, but at least it’s functional now.


Dining Room Refresh

We have an L-shaped kitchen diner and this area was one of the rooms we didn’t do much with. After stripping yet more wallpaper and taking down the coving, we painted it white, with a blush pink wall and got a new light. We also replaced all the 70s chip board doors with oak ones, with glass panels, to keep light flowing around the downstairs. When we got the kitchen replaced, we also got new herringbone style flooring throughout this room.
I found the vintage utility table in a charity shop about 25 years ago and we got it restored. My husband made the hairpin leg stools.
I painted the side door in Dusky Blush Frenchic Al Freco paint, which was easy and pleasing to do. We added a organisation station with Ikea peg boards, and I made an indoor salad garden out of an old cot side (see how here).

Kitchen Renovation
The kitchen looked OK when we moved in. Not to my taste but OK. Very orange and gloomy. However the hob/oven combo didn’t work well and it was all wonky and falling apart inside the cupboards. We saved up to replace it and when the old one was taken out it was all damp behind the cupboards so we were glad it went. We sold or gave away the cupboards that were ok, the dishwasher, fridge, microwave, and even the extractor fan.


Our new kitchen looks tonnes better. But it’s hard to keep those pale doors clean! It’s from Wren, who were a nightmare. I wish we’d gone to Ikea. But it’s done now!


Understairs Pantry Renovation
Alongside the utility room, the understairs pantry was another selling point. It stayed a dumping ground, with wibbly wobbly old shelving, pale green walls and a chipboard door for years. Then, I finally figured out how to make the best use of the space.

I painted it white, and painted the outside of the door in the same Dusky Blush paint as the side door. We got rid of the old shelves and added cheap and cheerful ones from Ikea. and storage bins at the back. It’s SO much better. See more detail in my full pantry makeover blog post.


Living Room Renovation
I think the living room is the biggest change. It was dingy yellow and beige. With big black beams crossing the ceiling and a avery dated 1970s/80s gas fire. It was such a sad, dark room, despite having a window at one end and big doors at the back.


My brother in law brought his chainsaw round the day after we got the keys, and cut down all the horrible beams. (They were just for ‘decoration’ and not structural, don’t worry). We stripped the wallpaper, took away the curtains and carpet and had the walls and ceiling skimmed. I did a budget make-over on the brick fireplace with paint (see the details here). It was supposed to be a temporary measure until we could afford to replace it. But I really like how it looks now! And it still works, so we’ll keep it until it breaks.

We had wood-effect flooring put in and painted the walls Sail White. My brother made the bookshelves out of old scaffolding planks, for our old house and thankfully they fit perfectly here!
The rug is made of plastic recycled straws. The grey sofa and footstool are from DFS and the small sofa with pink cushions is a vintage Ercol one that I bought from a charity shop. I have a few chairs too. I made some easy slip covers with some old throws and am thinking of making some more in blush pink velvet. We got wooden blinds in the bay window and have lots of plants. I had a photo shoot last year for my freelance copywriting business and these are a few of the photos that the very talented Sophie from Stone and Sage took.


At the back of the lounge, we had a nice reading area before. But when the pandemic struck, my husband started working from home full time too. So he moved into my little office upstairs and I moved down here. Soon, we’re getting a garden office, but it’s still TBC who will get that. (It will be me ;-))


Bathroom Renovation
O.K. let’s head upstairs for the bathroom. We had planned to live with this for a few years and save up to replace it. These are the estate agent’s photos. The floor sloped strangely, and it was again a sea of beige. Then the shower started leaking through the ceiling below. So we lived with just a bath for a while but had to give in, and get a new bathroom. I love it though so I’m glad we spent the money on it.


We went for a classic dark grey and white scheme and had the bathroom fitters knock out the airing cupboard to make way for a nice big walk in shower. See more detail about our bathroom renovation here.
Master Bedroom Before and After
Yet again, all the bedrooms were yellow, beige and orange. There’s a theme here. In our room, there were rickety old pine wardrobes, worn out carpets, dingy net curtains and yet more wallpaper.


We’ve not done a lot to this room. Just stripped the wallpaper, painted, and replaced the carpet. Oh and knocked out that rickety wardrobe! We moved the furniture from our old house in, and I made the origami lampshade, and decorated the thermal blind with stickers. One day we’ll find the time and energy to give this room a bit more wow factor. But it’s not a priority.


Our Little Home Office

We turned one of the box rooms into a home office, and it has a lovely view out over the field behind our house. See more of this little home office in my blog post from a few years back. It doesn’t look this neat and tidy now as it’s become a bit of a dumping ground while we wait for our garden office.
Kids Bedroom Renovations
As you’d expect, the girls’ rooms have undergone several makeovers over 10 years as they’ve got older.
The Box Room
Thea started off in the smallest room, predictably, very yellow! But with a new carpet, door and paint, it looked so cute as her nursery, with her white furniture. I have a lovely memory of coming in here to find Ava teaching her to escape from her cot!


The girls shared this tiny room for a few years, with bunk beds, and had the bigger room as a shared play room. Now, it’s Ava’s room, with a very clever cabin bed with desk and wardrobe below. This photo on the right was taken before she moved in, and got a lampshade.


The Cutest Playroom
This is the big room, which had an enormous Union Jack flag painted on the wall, covered by yet more peeling wallpaper. We have painted it so many times. But you can still sort of see the ghost of it, as it was done in such thick paint!


When we made this into a playroom, it looked so much better! The girls loved the matching ladder desks and plenty of space to play.


We had a big brain wave. I made the cupboard above the stairs, that leads off this bedroom, into the cutest den, just using stuff we already had. I think it’s the nicest space in the house!


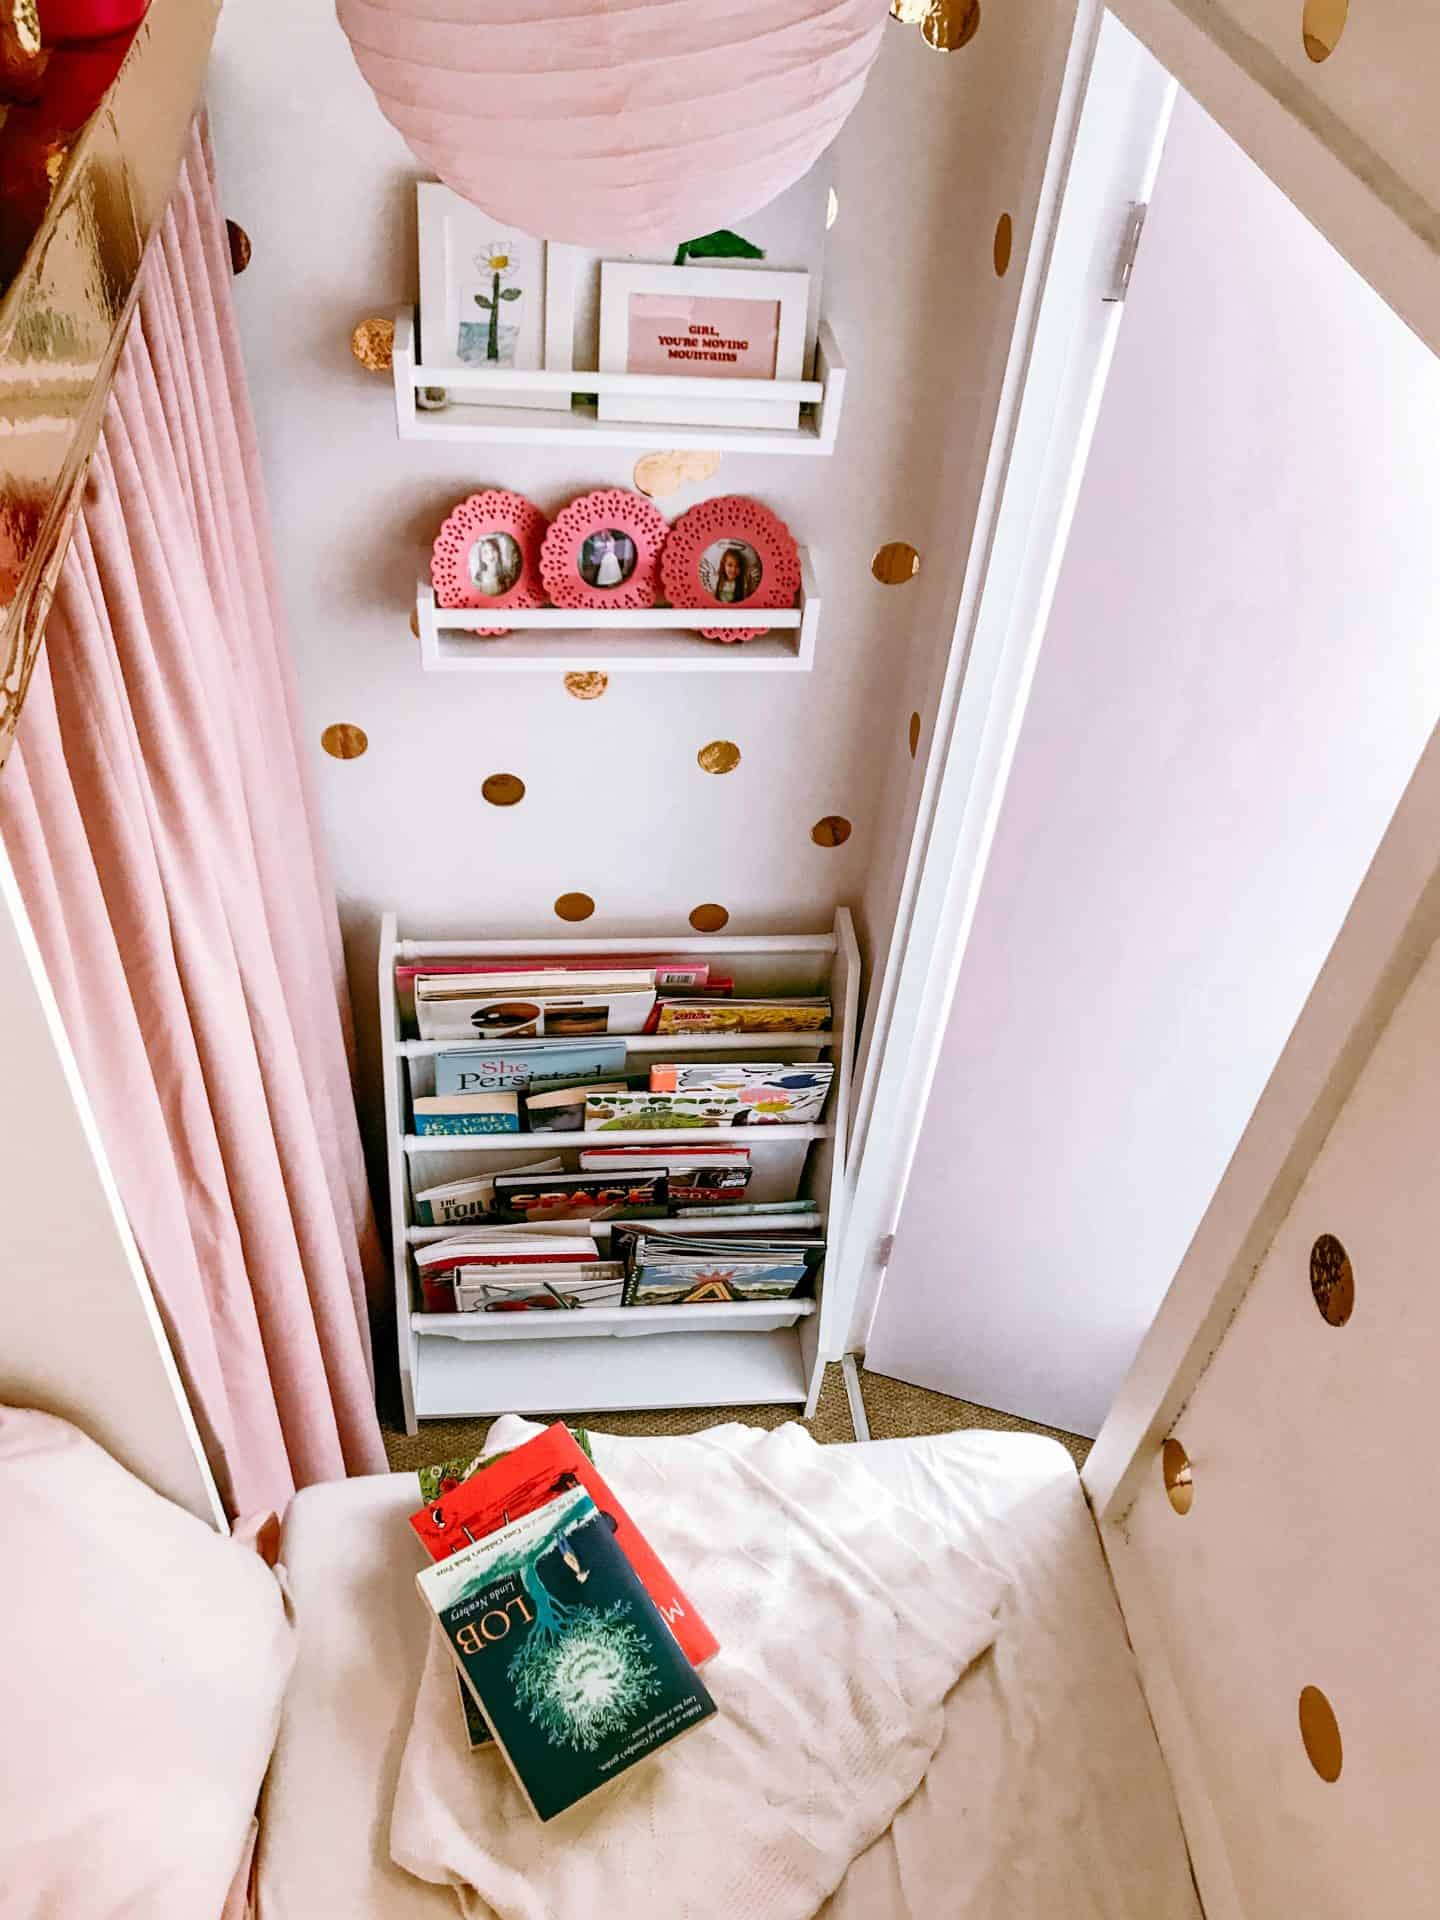
Read all about how we created this magical kids-only space here:
Now this room is Thea’s, and she’s chosen a panda theme with a green wall. It’s not quite finished to her satisfaction yet but plan to finish it this half term!
What’s Next With Our House Renovation?
I showed Thea these ‘before’ photos and she asked why we had even bought it as it was so horrible, ha ha. It’s taken us 10 years to get to this stage, but it has been worth it! Although the house renovation is not finished (is a house ever truly finished?) it’s pretty much there. Though now the paintwork all needs redoing as it’s had 10 years of family living!

Next, we tackle the garden! This is how it looked when we moved in, with a 1 year old Thea enjoying it. The wooden pergola and deck has now rotted so we had to take it down. In its place, we plan to have a garden office cabin, which will need to be insulated for year-round use. We also want a seating area, probably with a new, non-rotting pergola. Watch this space!


