Contains affiliate links. All opinions are honest, as always.

I have a bit of a love/hate relationship with Halloween, mainly ignoring its existence until my kids came along. But now I do have to grudgingly get involved, helping the girls make costumes and trailing after them as they go trick-or-treating. I am on board with a pumpkin farm visit, as long as it’s not too cold or rainy. But the only part of Halloween I really like is the baking. And the Strictly Come Dancing special as I love to see the costumes and make-up!
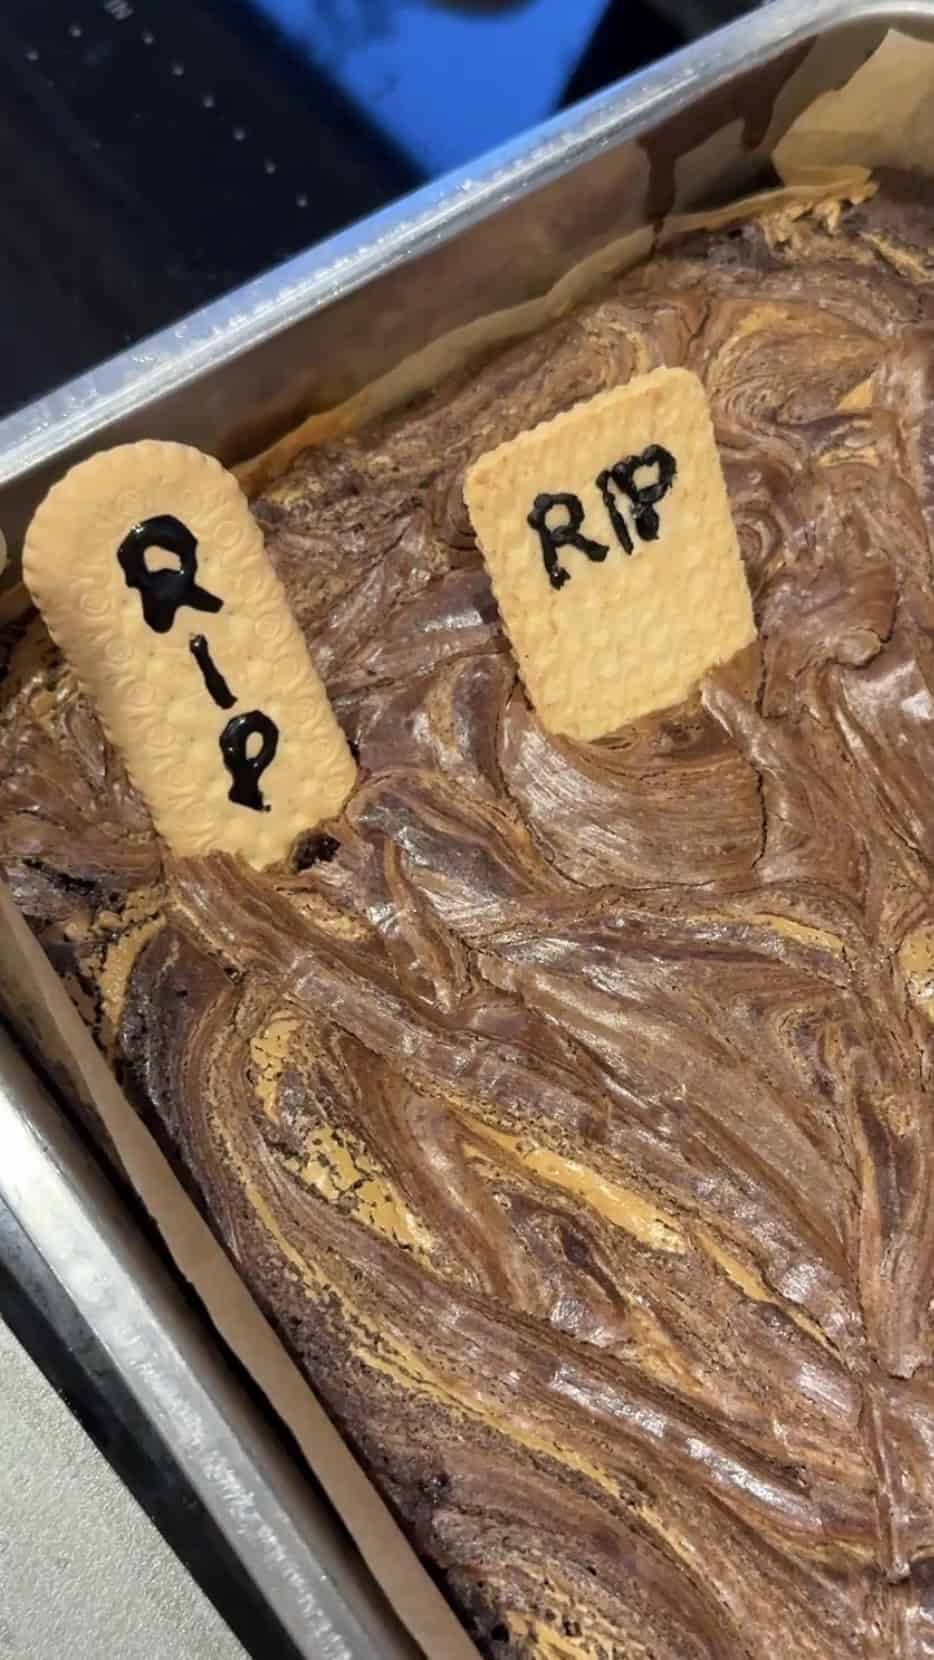
So, back to the baking, and here is my easy and fun Halloween brownie graveyard recipe, which is sure to be a big hit at any Halloween gathering.
Halloween Brownie Graveyard Recipe
If you can make brownies, you can make a creepy brownie graveyard. Here’s how:
First, make a tray of brownies. You can use whatever recipe you like, but here are my two favourites:
This one links to my gluten-free chocolate brownie recipe. Or read on for an alternative brownie recipe with added gooeyness from peanut butter or Biscoff spread.
Peanut Butter Biscoff Brownies
Brownie Ingredients
You’ll need:
- 250g Stork or unsalted butter
- 400g caster sugar
- 75g good quality cocoa
- 4 eggs
- 1 teaspoon of vanilla
- 150g self raising flour
- a good pinch of salt
- 100g smooth peanut butter
- 100g Biscoff spread
To decorate:
- Black decorating icing
- Nice biscuits
- Rich Tea oval biscuit finger (or any other rectangle or oval biscuits you prefer)
- Chocolate sprinkles or crushed Oreo cookies
Chocolate Brownie Method
First, heat your oven to 160/360 degrees and line a deep 12×9 inch/30x20cm baking tin.
- Melt the baking block or butter gently.
- Remove from the heat, sift in the sugar and cocoa and mix.
- Beat eggs, add the vanilla extract and add to the cocoa mix and mix thoroughly.
- Add flour and salt and mix again.
- Warm the peanut butter and Biscoff spread together until they are a little runny. You can use all peanut butter or Biscoff if you prefer.
- Pour the brownie mixture into the lined baking tray and level off.
- Drop the peanut butter and biscoff mix over the brownies and gently swirl in to the mix.
- Bake for 25-3 minutes, until just set with a slight wobble in the centre.
- While the brownies are baking, decorate your ‘gravestones’
Halloween Biscuit Gravestones Tutorial
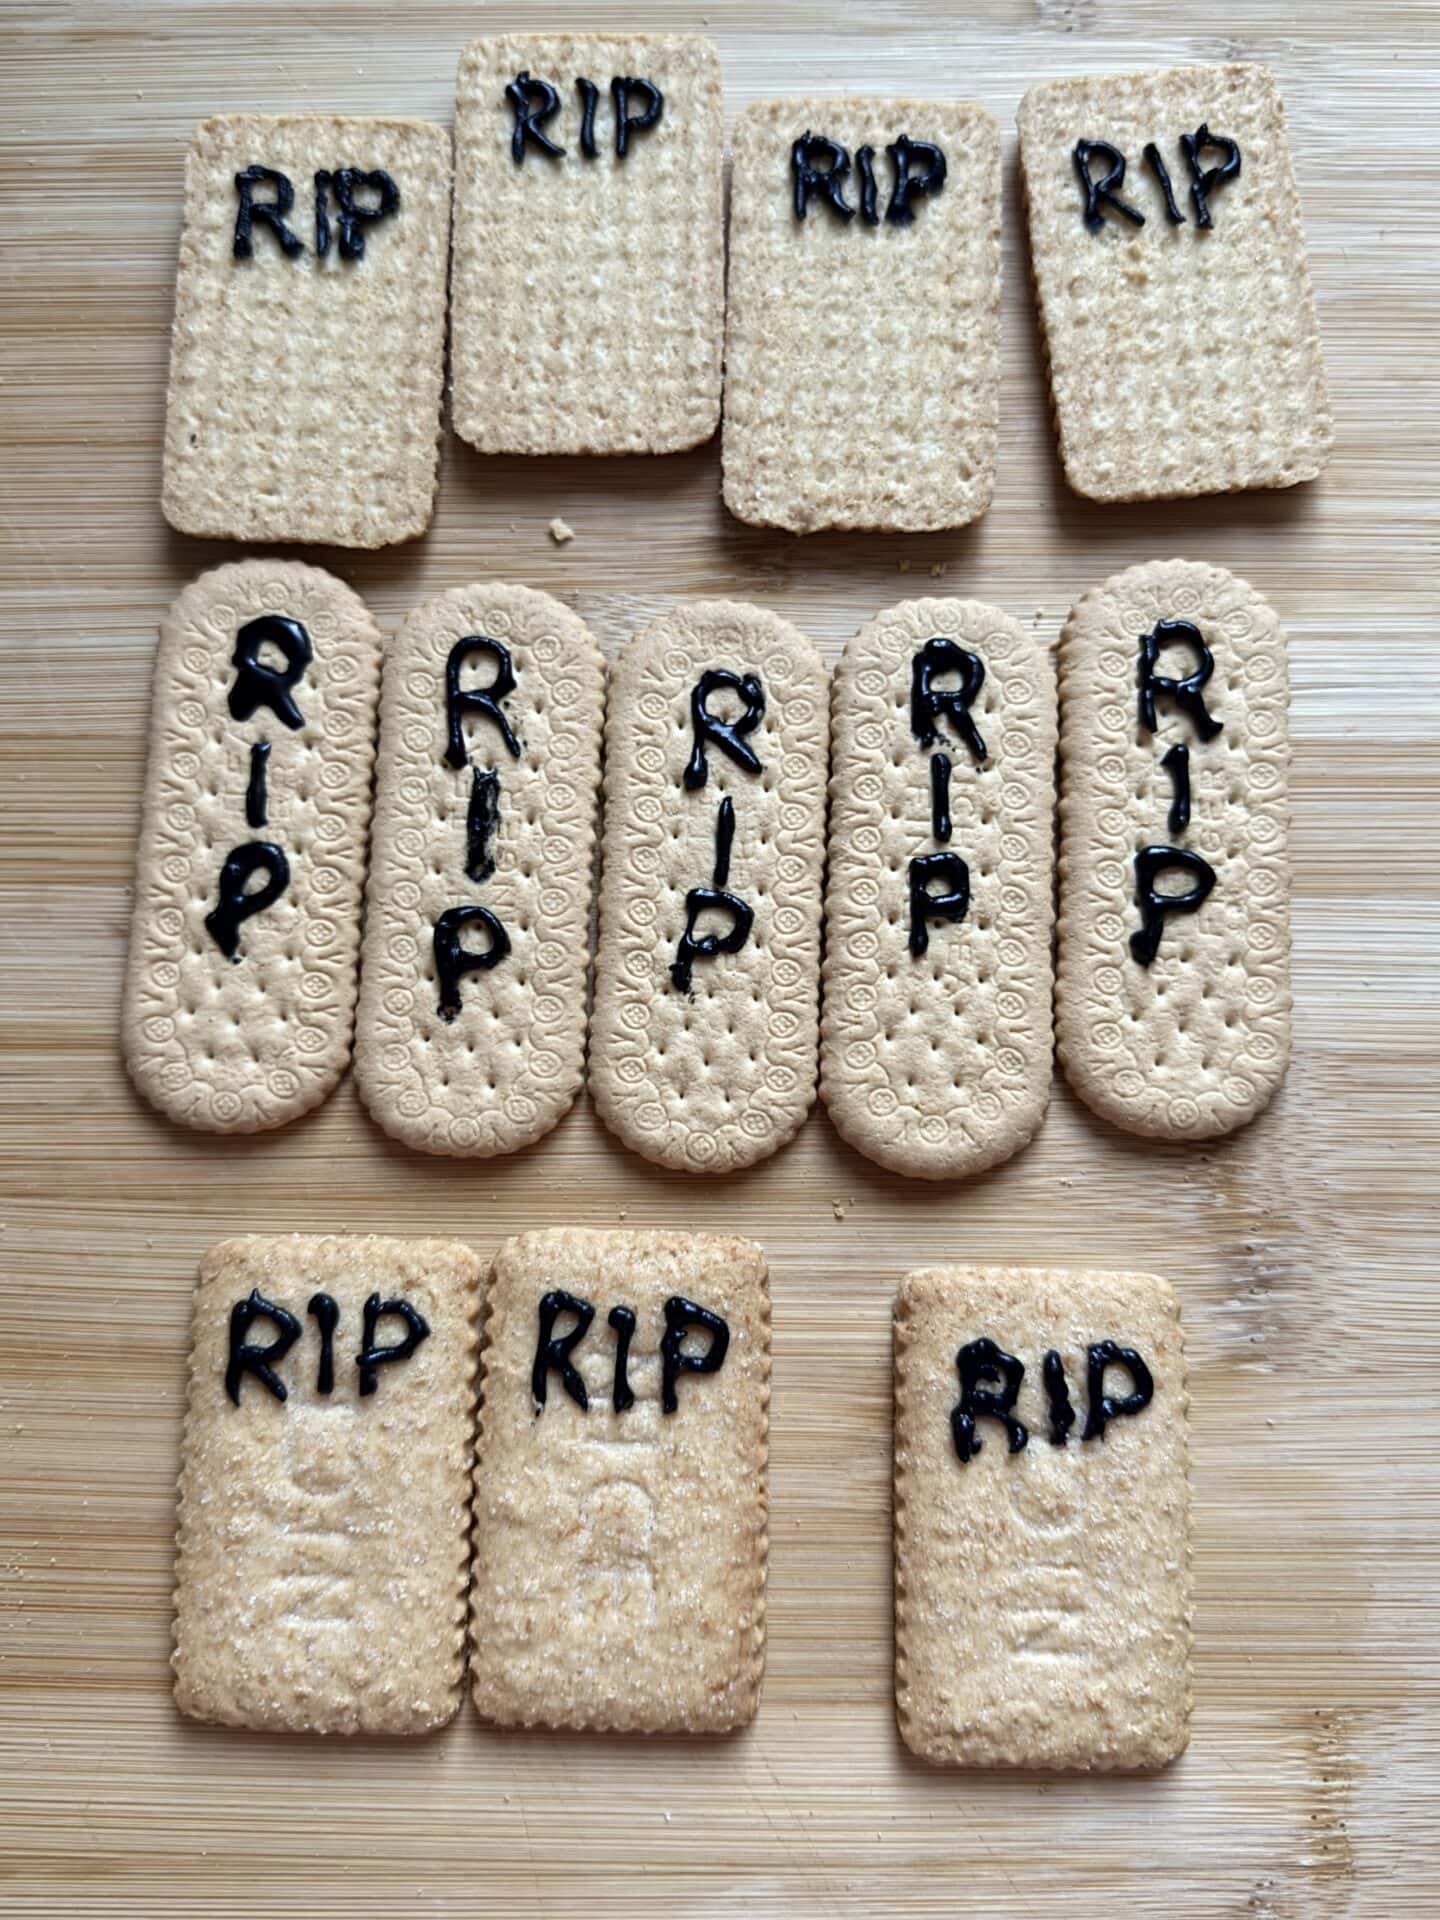
Take your biscuits and lay them on a board. I used rich tea fingers and Nice biscuits, to give a more realistic haphazard look but you can just choose your favourite shape. I used the back and front of the Nice biscuits for variety, but just the front of the rich tea fingers as they have a cute design on the front.
Once your brownies have cooled slightly, just push the biscuit ‘gravestones’ in, making it as uniform or haphazard as you like.
If you like, add some chocolate sprinkles or crushed oreo biscuits to make ‘soil’.